Entries Index
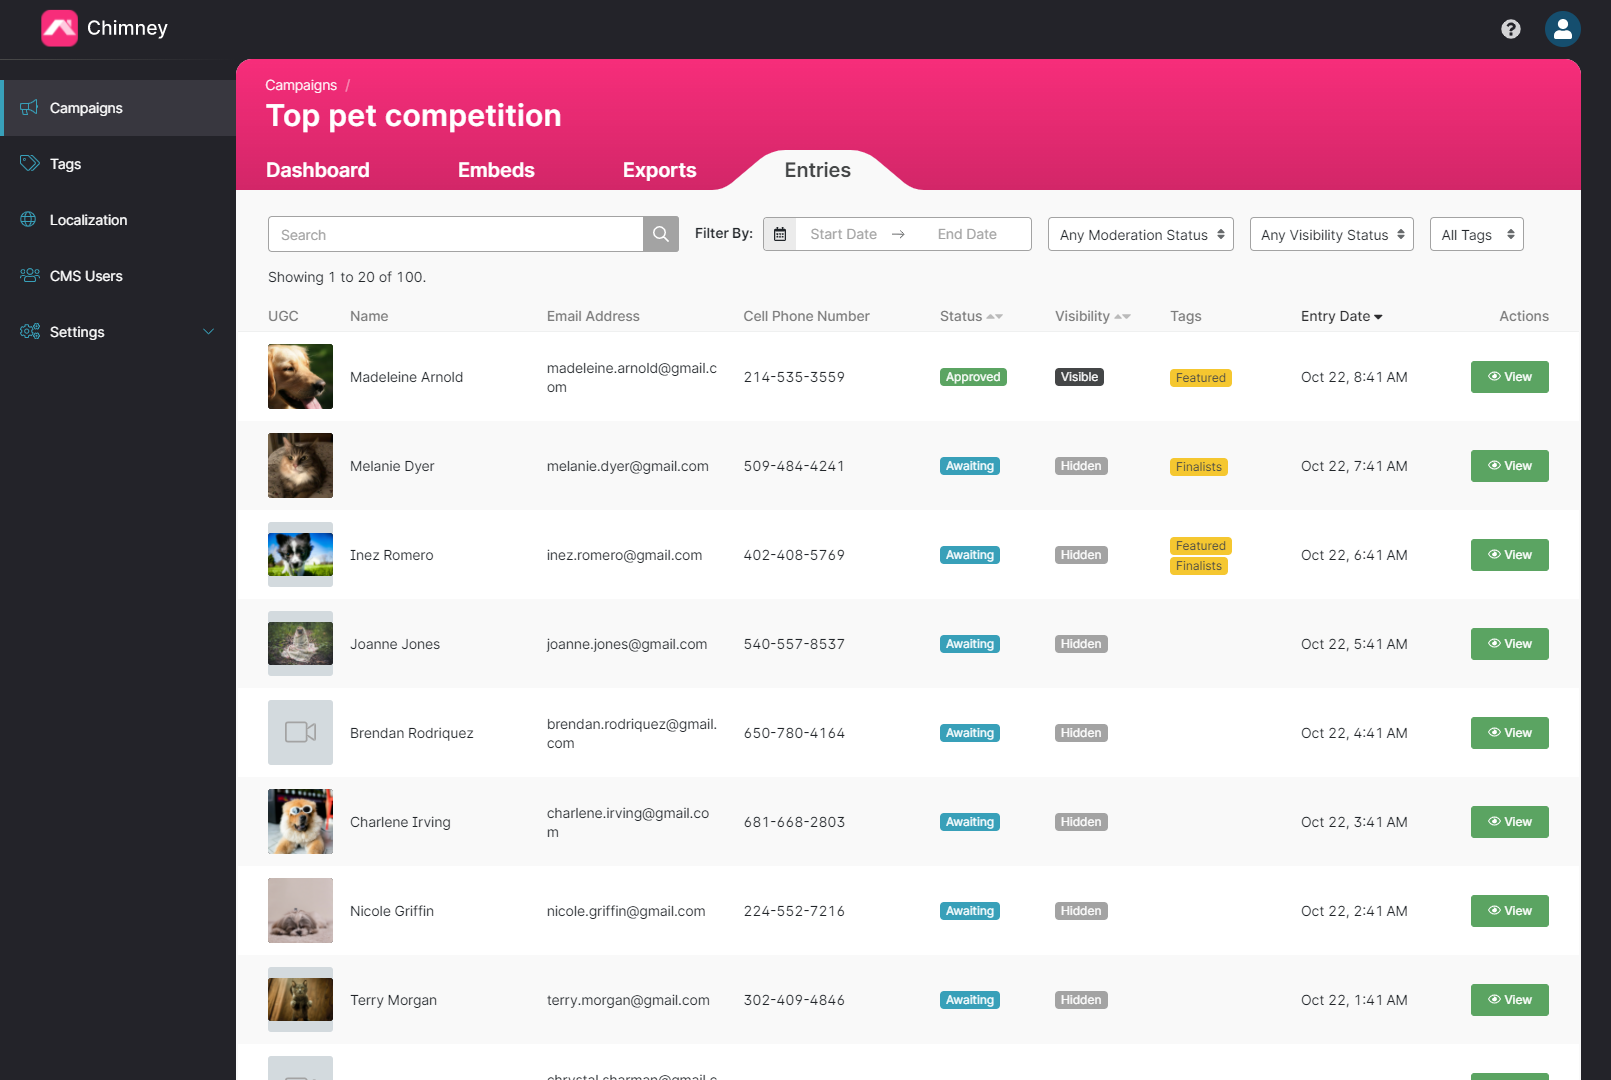
To view all the entries for a campaign, you can visit the entries index. To get there, visit the campaign dashboard for your chosen campaign and go to the Entries tab.
The Table
The table displays all entries by default. It is a paged table and you can switch pages using the navigation controls at the bottom as well as change how many entries you wish to see per page.
The table has a set of fixed and custom columns
UGC - this only appears if the campaign has UGC enabled. It displays a thumbnail image (or icon) of the media/file
The next 3 columns are reserved for displaying information collected in the custom campaign form. The columns are designed to display the first 3 fields in your form (excluding text area fields as they may often be too long to display here).
Status - Displays the status of the entry, which can be either Awaiting, Approved or Rejected.
Visibility - Displays the visibility of the entry which can either be Hidden or Visible
For more information on the Status and Visibility of an entry see the Moderation section.
Tags - Displays all the tags an entry is tagged with
Entry Date - This displays the time that the entry was received
Actions - This contains a button that opens that specific entry in the modal view.
Changing your view of the table
Filtering
It is often going to be the case that you don't want to see all entries in your table at once, so above the table there are tools/filters to display a subset of the data.
From left to right
Search - Here you can search for specific entries. Currently you can search by Email or External ID (if your campaigns are set up to collect an external ID - for more information get in touch with the Chimney support team). It is also possible to search for names if you have configured your field names correctly. If you set the Label of a field in your campaign to any of the following
- "Full Name"
- "Name"
- "First Name"
- "Forename"
- "Last Name"
- "Surname"
you will be able to search by those fields.
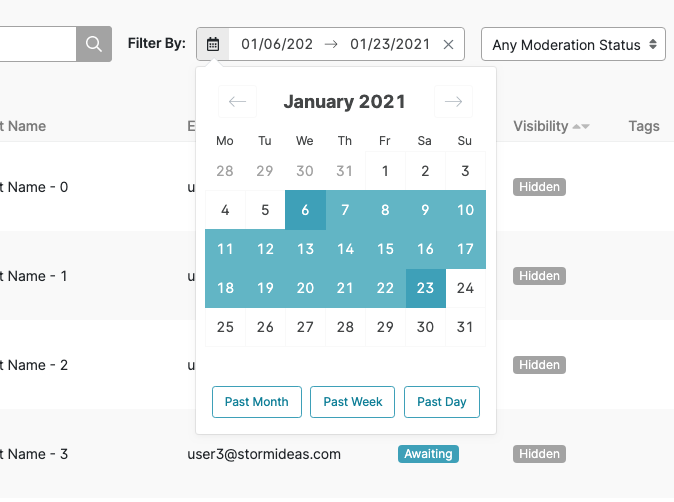
Filter by Date - Here you can specify a date range to only show entries received between those days (including the start and end dates). There are also handy buttons at the bottom of the dropdown calendar to specify in the last month/week/day. This can be useful if you run a weekly competition using the same campaign for example
Filter by Moderation Status - Here you can reduce your entries list to only show the Awaiting, Approved or Rejected Entries.

Filter by Visibility Status - Here you can reduce your entries list to only show the Visible or Hidden Entries.

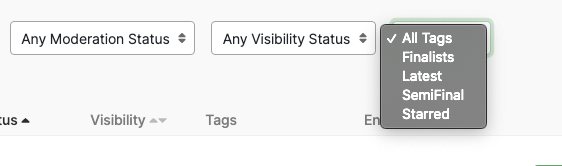
Filter by Tags - This allows you reduce your entries list by only those tagged with a specific tag. The list in the dropdown here mirrors the list created in the Tags Manager. Currently it is only possible to filter by 1 tag at a time.
It is possible to combine multiple different filter parameters. For example you can filter to find all entries from people called Megan who entered between the 1st and 7th of December that are awaiting approval and are tagged with "Finalists".
Sorting
You can also sort your table by the following properties
- Status
- Visibility
- Entry Date
By default the table is sorted in reverse chronological order by Entry Date (most recent first).
All of your table filters, sorting and current page are saved for you in your browser, so it is possible to leave the page, come back and you will be shown the same view of the entries as you when left it.